


WHY SHOULD I REGULARLY MAINTAIN MY SKIS AND SNOWBOARD ?
To understand why it is necessary to regularly maintain your skis and snowboard , you first need to know how they are made. They generally consist of a core, freeride ski bindings, and edges, elements that require special attention.
The core, which is the main component of the ski/snowboard, can be made of injected foam or wood. Foam skis, known as monocoques, are more economical, absorb vibrations, and are commonly used in entry-level models. However, they have a limited lifespan and wear out more quickly in the presence of moisture. Wooden skis/snowboards, while more durable, require a more expensive manufacturing process. Both types of cores require regular waxing to prevent moisture infiltration.
Finally, the metal edges along the ski/snowboard grip the snow for better handling in turns. It is important to sharpen them regularly, although the frequency depends on usage. Testing the edges by running your fingernail over them is a way to determine if they need sharpening, thus avoiding excessive sharpening that could reduce the lifespan of the equipment.
Regularly maintaining your equipment is crucial to ensure optimal performance, regardless of snow conditions. Well-maintained skis are the key to excellent edge grip and smooth glide of the base, essential elements to improve your level and maximize your enjoyment on the slopes! To make the most of the season, don't hesitate to buy alpine skis or buy a quality snowboard according to your favorite discipline.
.png)
HOW TO MAINTAIN YOUR SKIS AND SNOWBOARD BEFORE THE SEASON ?
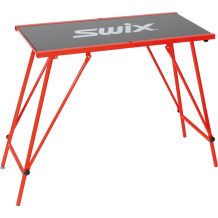
Maintaining your skis/snowboard starts well before the season; it is important to prepare them properly. You will need to check the condition of your base and edges to know what work needs to be done, then you have two options. You can bring your equipment to a shop for maintenance, or you can do the maintenance yourself. Doing your maintenance at home will be much more economical and will take almost as much time as taking your skis to the shop, so we will teach you how to maintain your equipment yourself! Find the best maintenance brands for skis on Alpinstore: Swix, Vola and Kohla.
STEP 1 – CLEAN YOUR BASES
Before starting any work on your base, it is important to see clearly! You need to remove all impurities from your base.
|  |
The residues and impurities are now eliminated, your ski/snowboard is finally ready to be waxed.
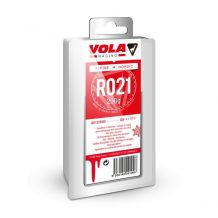
STEP 2 – MELT AND SPREAD THE WAX
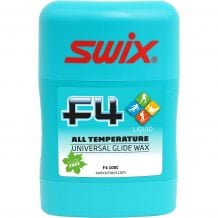
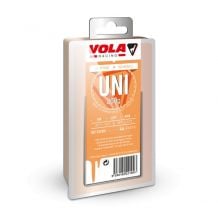
 | For this step, you will first need to choose a type of wax. There are several types of wax depending on the temperature of use of the ski/snowboard. I recommend taking a universal wax that will perform well in temperatures ranging from -10°C to +10°C; it will allow you to glide in all snow conditions.
|
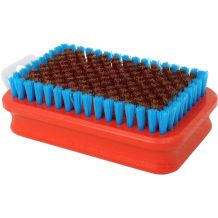
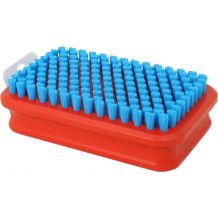
STEP 3 – SCRAPING AND BRUSHING THE BASE
After 2 hours of waiting, it is time to scrape off the excess wax present on the base.
|  |
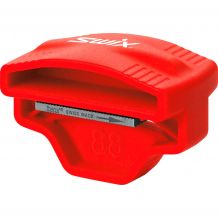
STEP 4 – SHARPENING THE EDGES
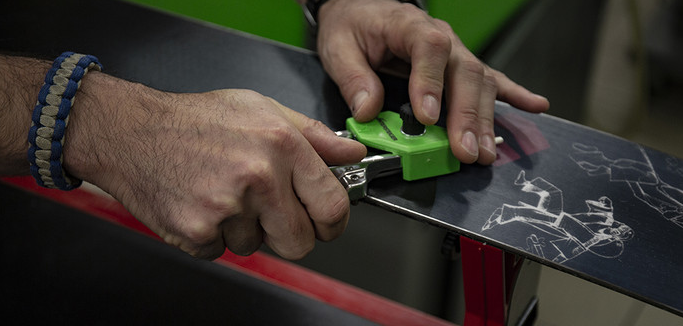 | Once the base maintenance is complete, your ski/snowboard is almost ready to hit the slopes. You will now need to sharpen the edges for optimal grip and to make your best turns.
|
How to choose your sharpening angles?
Edge sharpeners offer many angle possibilities, often between 85° and 90°.
For beginner, occasional, or freerider skiers, we recommend using a 90° angle.
For competitors, we recommend using an angle of 88° or less.
HOW TO MAINTAIN YOUR SKIS DURING THE SEASON ?
When you traverse trails dotted with rocks and tufts of grass in spring, you may notice holes, scratches, or even gouges on the base of your skis and snowboard. Wax plays a dual role as a protective layer and a facilitator of glide on snow. It is essential to regularly fill these abrasions during the season by applying a new layer of wax to avoid any moisture contact with the core of the ski. To optimize your comfort on the slopes, consider ski boot soles that will prolong your enjoyment safely.
WHAT TYPE OF WAX TO CHOOSE ?
There are two categories of waxes, solid and liquid. Solid wax comes in the form of a block to melt and spread on the base. This type of wax requires more equipment and know-how, but it is essential for good maintenance and longevity of your ski.
Liquid wax, on the other hand, is much easier to use; it is recommended for beginners who want to maintain their skis. It is a supplementary wax that is applied mid-season to fill in some abrasions.WHAT TYPE OF WAX FOR WHICH CONDITION ?
There are different types of waxes, each for a different type of snow. Choosing a type of wax corresponding to the right type of snow allows for optimal glide. To know which wax is intended for which practice, manufacturers have agreed to use a standardized color code.
WHITE or COLORLESS WAX: this is a universal wax; it is versatile and usable in all conditions, but will not be as effective as a wax specific to a temperature.
RED WAX: The nice days are starting to arrive, but the snow is still good; it is the end of February, and it is time to use red wax for conditions between -4°C and +4°C.
YELLOW WAX: Here it is, spring! The end of the season is coming; it is time to enjoy the last descents, often very wet snow. This is when you need to bring out the yellow wax for conditions between 0°C and +10°C.
Discover our entire selection of wax
.png) |
HOW TO MAINTAIN YOUR SKIS AFTER THE SEASON ?
STEP 1 – WAXING
It is therefore preferable to wax your equipment before storing it. To avoid doing the work multiple times, use a wax for cold snow (blue or purple) or a universal wax. Proceed in the same way as for waxing your skis at the beginning of the season. We recommend using the over-waxing technique, which means protecting the base by applying a generous layer of additional wax and letting it dry. Once dry, you can store your skis all summer, and you will just need to scrape off the excess at the beginning of the season, and your skis will be like new! To complete their maintenance, also consider quality ski accessories, as well as cheap snowboard accessories for complete equipment.
STEP 2 – DRYING THE EDGES
The edges are important elements in the performance of the ski and snowboard; it is important to ensure their good maintenance for the best possible longevity. The edges are made of metal, and like all metals, they are susceptible to rust. It is therefore important to dry them well with a soft cloth. Also, be careful to store your skis in a dry place.
STEP 3 – HOW TO STORE YOUR SKIS ?
As mentioned above, it is important to store your skis in a dry place. Additionally, it is advisable not to stick the tips together, as this could create condensation and thus moisture.
For those who wish to renew their equipment, you can also buy snowboard equipment online or discover the innovative protection with POC helmets for more safety on the slopes.
Now you have all the keys in hand to best maintain your skis. All these tips and good practices will allow you to offer the best possible longevity to your skis. You just have to enjoy the snow, the sun, and the raclette!
If your skis are no longer recoverable even after good maintenance, we help you choose your skis for: how to choose your pair of alpine skis?
 |